Thursday, June 26, 2014

Quick Lamp Makeover


Say Goodbye to Gold! 


 I've been staring at this lamp since the first day I moved in with my boyfriend...almost two years ago. The shade is too big and the gold and I are just not getting along. Even though it has now found its new and permanent home in our guest room, that doesn't mean it still doesn't deserve an update! Besides, it's an excuse for another DIY project, so why not?
Materials:
1.) Painters Tape
2.) Newspaper
3.) Sandwich Bag
4.) Spray Paint  

Here We Go!

Step 1:
Begin by using your painters tape to tape the brim of the top of the lamp. I chose to add this step before the newspaper because of the shape of my lamp and fear of leaks. If you have a lamp with a more basic shape, taping the newspaper straight on may work just fine for you. 
Step 2:
When you've finished at the top, tape around the bottom. Again, you may find this step unnecessary. 
Step: 3
I layered paper vertically, taping at the top and bottom. Take about two pieces of newspaper and rip them into strips. Fold them to cover the length of your lamp and tape. There may be easier ways to accomplish this task, but due to the waved shape of my lamp, I found this way worked best for me. 
Step: 4
Add tape where its needed until everything is safely covered and secured. 
Step: 5
Don't forget these guys! You can choose to cover the entire area, however since i really dislike gold,  I covered the bare minimum. 
Step 6:
 Use a sandwich bag to secure the plug. Make sure your cord is pulled all the way out of the lamp before taping the bag on in case you missed an inch or two of cord. 
Step 7:
Find a safe location and something to rest your lamp on. (Please try and  ignore my dying grass.. we are in a drought you know.) I had leftover Rust-Oleum Painters Touch Spray Paint (http://www.rustoleum.com/that i used for this project.  I love this stuff because it dries quick and covers almost any surface.   

Step 8:
Be sure to follow the specific instructions that come with your choice of spray paint.  Make sure to check your work, theres nothing worse than finding a missed spot after everything completely dried. 
TADAA!

Easy as that. We'll save the Shade Makeover for another day. 


Wednesday, June 25, 2014

Inspiring Quotes for Artists


My Entrance Into The World of Blogging

Hello Blogging World!
      My name is Keri and I am an artist who hasn't quite figured out what I do best. Some may say I'm indecisive, but there is just too much out there to try! I was born and raised in Connecticut, where I attended Paier College of Art, receiving my Bachelors in Illustration. Just over a year ago I followed my heart to Sacramento, California. After a year in a hopeless job, my loving boyfriend is now supporting me in the opportunity to pursue my art full time! With that said, the guest room is now my craft room and other than a weekly grocery trip, I have no other reason to leave the house. Every morning I wake up early, pack a lunch for my honey, and sit down with my coffee & Pinterest. (Yes, I am addicted to Pinterest.) Usually, by the time Dr. Phil is over, I have my inspiration ..and a few new stress relieving techniques courtesy of Dr. Phil. Now I wont lie, "house-wife" chores come first as part of the bargain, but personally, cleaning, cooking and gardening are just a few more of my favorite hobbies, so I have no complaints. Now, Monday I may start sewing a dress, but by Wednesday I'm usually deep into a pen drawing. There is no telling what I may accomplish, but i know one thing for sure, I'll never run out of ideas.


Here are some of my latest projects:
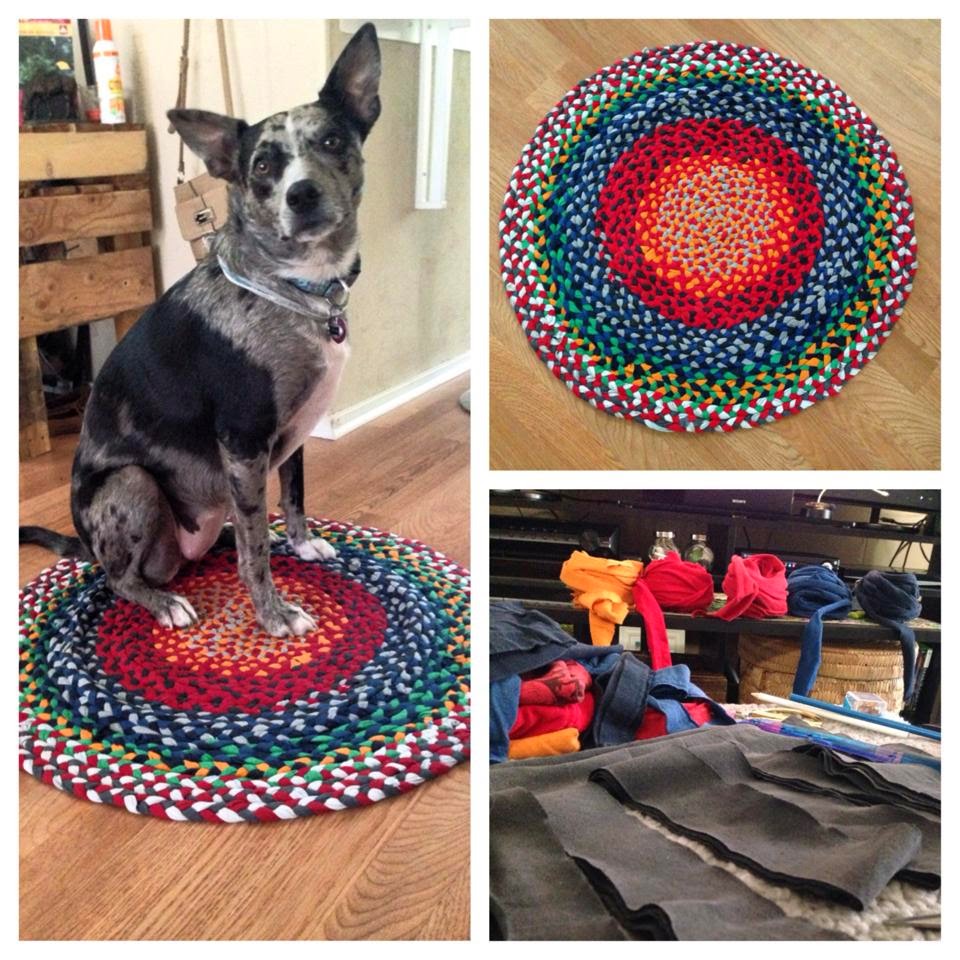
1.) Braided Rug
2.) Pen & Prismacolor
3.) DIY Pallet Furniture & Spoon Mirror
4.) Sewing: Toms Wallet 

1.2.
3. 4.